Showing posts with label Card. Show all posts

Thursday, July 20, 2017

#TBT Party Time Card Kit Revamp!

handmade card diycard cardmaking clear stamps


I love a good challenge, and sometimes it takes an outside eye to see things differently. 

So from time to time I get a chance to play along with the ladies over at the Color My Heart Color Dare blog for the weekly challenge.  This is definitely a fun group, and by participating, it will get you out of your comfort zone! These are colors taken from the Prickly Pear Collection (that's the featured paper for the month of July with Close To My Heart #CTMHPricklyPear if you create something and let us know!) Right from the start I fell in love with this collection because the colors were so bright and cheery! The Color Dare #252 included colors from Prickly Pear and they added Raspberry and Silver to give it a different perspective, and in my opinion, it totally works! Join in on the fun, get your artwork created and linked on their blog by 10pm tonight! Good luck!


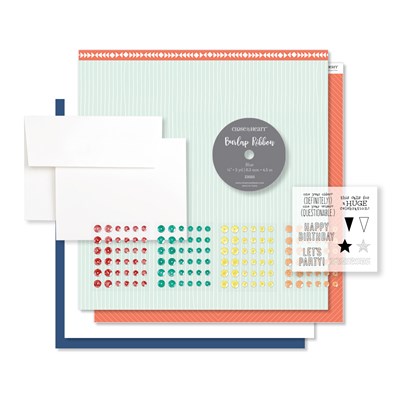
Immediately when I saw this color palette, I knew I could use the Workshop Your Way "Party Time" Card Making Kit!  If you remember seeing my Instagram post, I created those cards when it first came out, back in October.  For this project, I used my scraps that were left over!  The kit is only $19.95 until the end of July or while supplies last.

Want to recreate this card?  Or something similar to it?

How-To Instructions/Dimensions:
Cut all pieces according to Supply list below. (*Note, at the time of the blog post, the Raspberry Heart B&T sold out, but can very easily be substituted with plain Raspberry Cardstock)
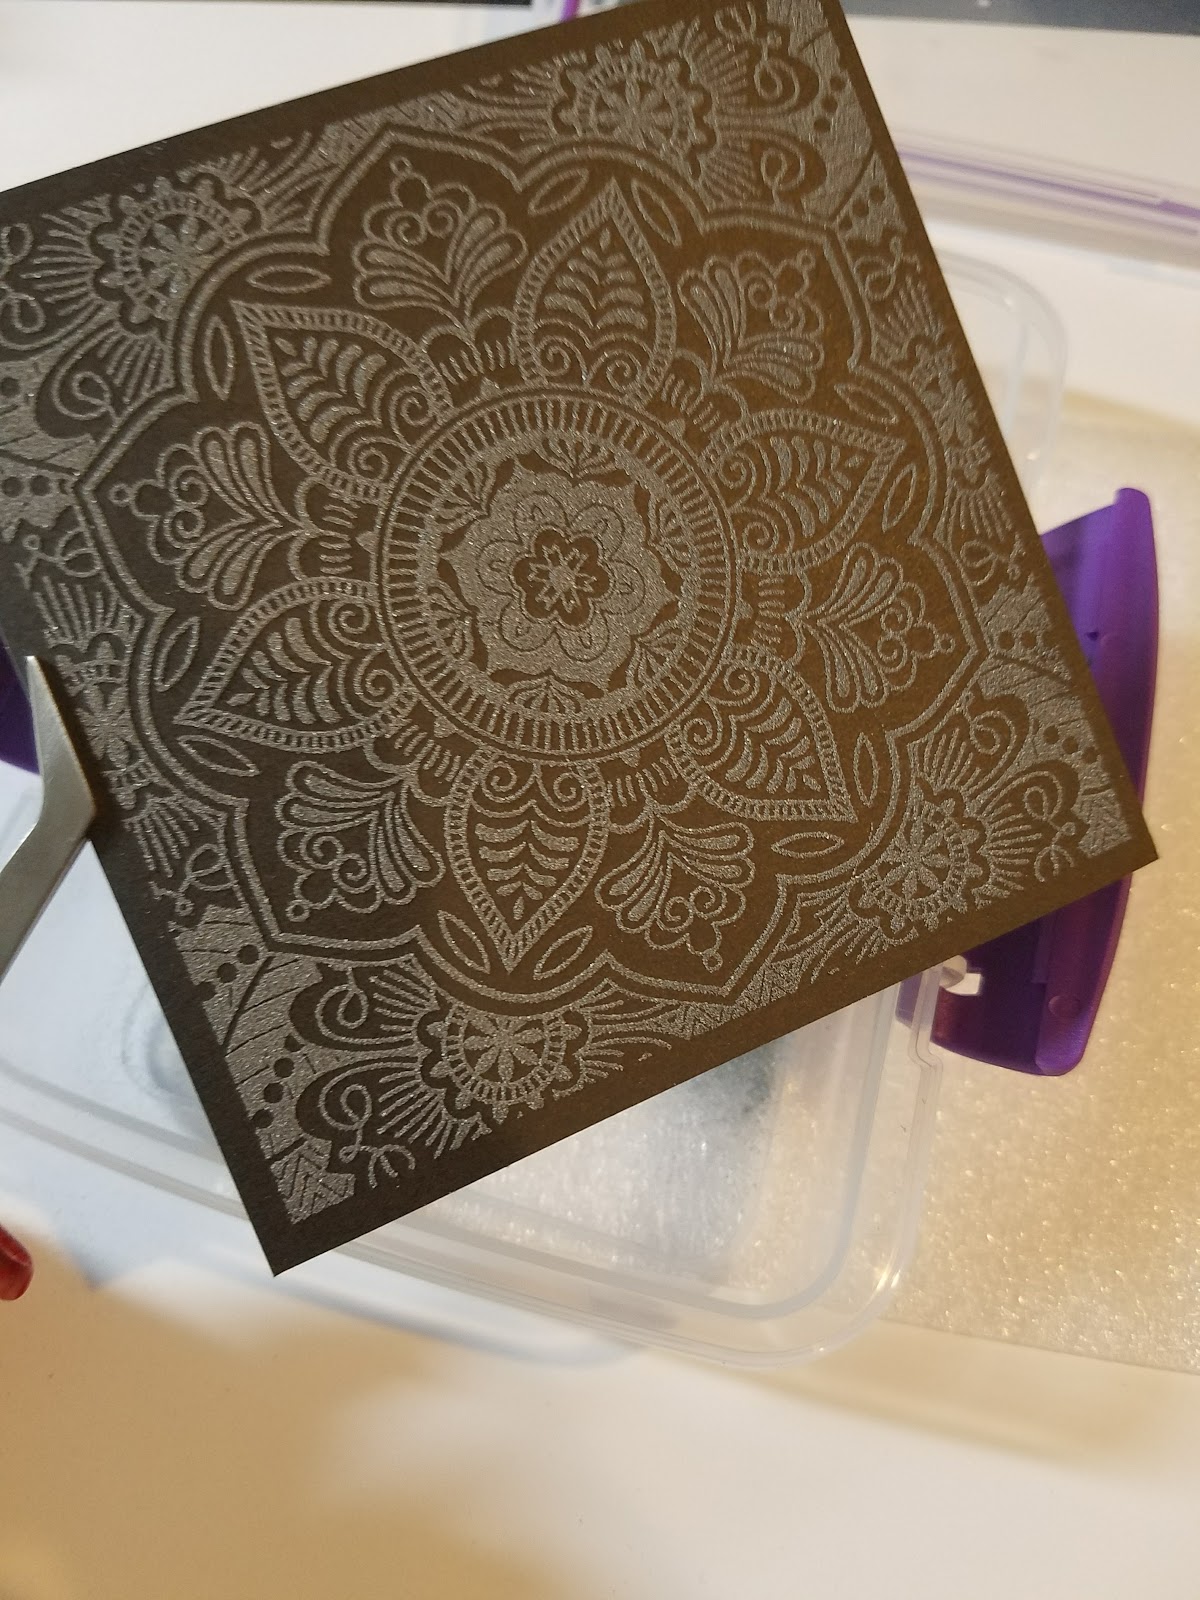

Next you will stamp and heat emboss the image on the 4" square cardstock.


Once your image is completely heat set, go ahead and sit that to the side.

Next, you can begin your assembly!  I wanted there to be a border and a thin strip, so there's a method to my madness. You'll notice the Black Dot paper (which in the kit is the opposite side of the large Purple Circles), is cut slightly larger than what is visible on the card, so building from the bottom up (see photos below)


And then you can add the dove-tailed Emerald and Sea Glass pieces, Bitty Sparkles and whatever sentiment you have chosen for your card (I diecut "Happy Birthday" out in two colors, once in Raspberry and the second in Black!


Visit my website to see available Thin Cuts (wafer thin metal die cuts you can use in your Big Shot, CuttleBug or other die cutting machine) if you don't already have your own favorite sentiment...

Supply List:

*Raspberry Heart B&T   4" x 5 1/4"
Black Dot B&T               4" x 3/4"  (x2)
Emerald Cardstock          3 3/4" x 1"
Sea Glass Cardstock        3 1/2" x 3/4"
Black Cardstock              4" x 4"
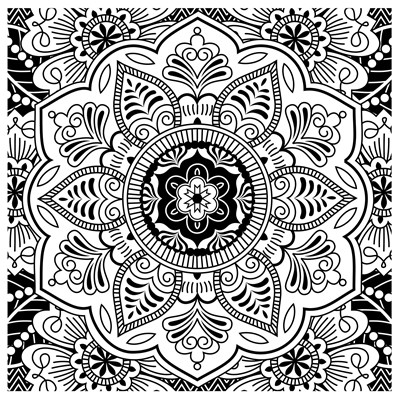
"Exotic Flower Flair" My Acrylix Stamp (B1477)
Thin Cuts - Happy Birthday (Z3304)
Bitty Sparkles
Raspberry Cardstock
Versamark Stamp Pad by Tsukineko
Silver Embossing Powder by Ranger
Craft Heat Tool
Your favorite adhesive
Recommended My Acrylix® block:
4" × 5" (Y1012)
Workshops Your Way Party Time Cardmaking Kit (OPTIONAL; However, it includes all supplies to create 10 cards w/ envelopes and FREE stamp set to create cards for Birthday or Invitations **Does NOT include Exotic Flower Flair stamp set!)

Purchase the Entire Card Kit Here
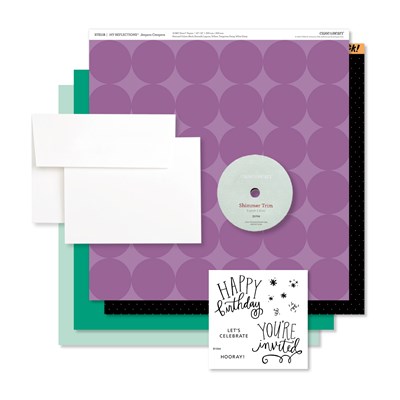
Party Time Card Kit (G1111)  Click to Purchase
Clear Stamp Stampaganza
Exotic Flower Flair (B1477) $9.95


I appreciate you taking the time out of your busy day to read my blog.  I hope you were able to play along, or at least have the instructions for a fun and easy card.  I think the blog post took me longer than it did to make the actual card! LOL

Feel free to leave me a comment if you found it interesting, or if you would like to become VIP with me to receive my newsletter and class schedule, CLICK HERE.


Have a wonderful Thursday!
AKA Sosa's Wife


Saturday, May 20, 2017

Prickly Pear Friday Freebie


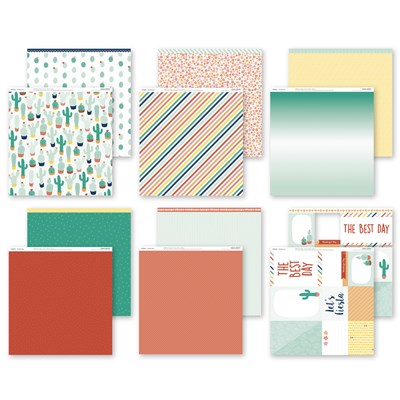
I created this card for our new Seasonal Expressions 2 Launch.  The paper pack used is the newly released Prickly Pear Collection. After all the recent freak snow/hail storms I decided I needed something bright and cheery! YAY!! What do you think of these colors? They just screamed Spring, Summer and Birthday to me! I wanted to go for something a little Gender Neutral, so it didn't scream GIRL!!!  (Although you know I'm the epitome of "Girly Girl"... love me some pink and red!!) So, this was stepping out of my creative box for a bit.


Not to mention it was getting close to Cinco de Mayo; you know, the day after the infamous and now drawn out with ridiculous memes for "May the 4th be with you".  Here's a close up of both the outside (seen above) and the inside (featured below) of the card I created. After moving to the Midwest/Rockies/Ski Country... Cinco de Mayo just isn't the same... Oh yeah, it's celebrated here, but not like they celebrate in Texas! Ha! Margarita specials go on EVERYWHERE there... here, yeah, they say they're celebrating, but restaurants here know nothing about running appetizer and drink specials, oh well... we've got snow! LOL

I used 2 different stamp sets, Fiesta Time (C1681) and the one that comes as a Bonus with the


So now that you've seen the card front and inside sentiments, let's take a closer look at just how this card was created...

Below you'll see the start of my creative process. Color, color, color... Yes, as a Copic enthusiast and Certified Designer, and the little girl in me, I had to color these margaritas to look as yummy as possible. I'm still in school for Illustration, so I love to try different coloring mediums, and it just so happens that Close To My Heart also carried professional alcohol markers! Shin Han Art Touch Twin markers, just like Copic markers, are also used by all kinds of artists, including Manga artists and Pixar/Disney artists (storyboards... everything else is digital of course)


Colors use to color the lime margaritas are:

First I stamped and heat embossed the image with Versamark and Ranger Princess Gold Ultra fine embossing powder, colored the image, and just for another "true" added affect, I added Liquid Glass to create that epoxy/glass look! (Besides I'm not a fan flat images... needs dimension!)

You'll find the Cricut Design Space files I created below.  Comments are greatly appreciated! I ask that if you do use my files or refer to them, please tag me on social media or send your crafting buddies back to my original blog post so they can download them for themselves.

Cricut Design Space Cut Files:

Prickly Pear "Party... Like there's no Manana"  https://us.cricut.com/canvas/59377023


Supplies:


Join my VIP group on Facebook, follow me on Instagram @ScarletteDesigns and on Twitter and Facebook @EliseCTMH

Thank you for stopping by and allowing me to add a Splash of Color to your life and creative works!
(aka Sosa's Wife)

Shop with Elise at CTMH


Sunday, August 21, 2016

A Hello from Florence

#ctmhflorence #cards #handmadecard #makers #closetomyheart #ctmh
Well, not really Florence Italy, but the Close To My Heart Florence Paper Collection! LOL...

With 3 of our favorite collections retiring on the 31st of August, I thought I'd include another fun card project to feature our Florence collection!

#ctmhflorence #cards #handmadecard #makers #closetomyheart #ctmh


As you can see here, I've designed this card with one of the pocket scrapbooking cards I had left over after creating the workshop and bonus scrapbook pages.  This card only took about 10 minutes to make, so if you're in a hurry and need one fast, this is a definite must!

#ctmhflorence #cards #handmadecard #makers #closetomyheart #ctmh
Click to Purchase or see supply list at end of instructions

Here is the 4x6 PML card, I trimmed it down to 5 1/4" x 4" and adhered it to the 4 1/8" x 5 3/8" Ruby Cardstock and glued those both to the White card base.  Next, I layered the other pieces and glued those down and pop dotted the blue flower from the Florence Complements pack.

Measurements:

  • Ruby Cardstock (5 3/8" x 4 1/8" AND 1 1/4" x 4 1/2")
  • Pacifica Cardstock (3 1/2" x 2 1/8")
  • PML (trim to 5 1/4" x 4")
  • Flaxen B&T (1 1/8" x 4 3/8")
  • Red Dot B&T (3 1/2" x 2")

I hope this project has inspired you or at least I was able to show you how you don't have to use the pocket scrapbook cards for pocket pages, you can still use them for cardmaking or even for traditional memory keeping ways!

Thank you for visiting, feel free to leave a comment or questions! I love my blog readers!  

Creatively Yours,
AKA Sosa's Wife


Supplies used (Click on photo to shop):